Monday, January 30, 2012

Start of the skins!

First. Let's take a look at the panels. Here, you see the rear panels, the one of the left hand side is in the inner, which means the opposite side is the outer.


Next we see the outers, again, the inner panel is pictured on the left hand side.


This shot shows how I removed the panels. I took a board, and laid the skin out on it....I then placed a chisel on the panel, and gave it a nice "wap" with a hammer, and it instantly came out!


Here is a shot showing some of the panels removed.


Finally, here is a shot showing the skin wrapped around my frame. My frame looks to be off some, and I think I may have found the answer (hint hint).


Also, I finished my Azman Radar eye. Still needs a little work, but looks fantastic!


Sunday, January 29, 2012

NEW PART DAY!

First of all, this NEW part day actually happened last Wednesday. I have been too busy to really update the blog, so it's just getting done today.

BUT FINALLY, my aluminum skins are here!!!

The first shot just shows the skins themselves, and the second shot shows the skins with the dome on top. Gives you an idea of what he's starting to look like. As I type this, I am currently working on R2 now, so this evening there should be another update!!


Monday, January 23, 2012

Skinning my legs.

I've gotten a few PM's about "where i've been" so I wanted to take a second out and update here. I have decided I can't handle seeing the 'wood' on the wooden legs. Despite my best attempts at filling them, there are still plenty of places where they are not smooth and you can see wood grain. This just does NOT work for me. Not only is the wood grain an issue, but the durability is a HUGE issue. Every little thing that touches them wants to leave some sort of mark........after 5 months of them driving, i'd probably need new legs.

After talking with my good friend Randy (TK8999), he suggested I do what he's doing (did) and skin my legs with .020mm styrene. I hate styrene, but this seemed like a viable option. So, for $8.50 for a 4'x8' sheet of styrene, I embarked on skinning my legs. I am not taking photos of this NOR am I am effectively blogging about it because there is already a great tutorial on the Astromech website. I hope to have them done in the next day or so and then will show off the NEW product here!!

Tuesday, January 17, 2012

New Part day!!

Today, I received an AZMAN Radar Eye and Radar Lense!! This weekend we're supposed to hit 65, and if it gets even close to that, i'll do a little dome painting! Still hoping the skins arrive.........soon I hope!


Monday, January 16, 2012

Even MORE work.

This was actually completed saturday, and i've been relaxing the past two days, but all of the dome cutouts are now done with the exception of the HPs, Logics, and PSIs.........all of those I am waiting until I have the actual parts on hand to cut them out! Here are a couple photos.


Thursday, January 12, 2012

more work.

I said one panel..........said. Which clearly means nothing. I decided that I would just do the pie panels and not worry about anything else......but then I said I only have a few left and might as well do them......so I went and cut two more!!!


another dome panel!

My arm hurts like hell, but I can't stop! I decided I would do one more panel a day due to the pain I am in!! So here it today's panel!

Wednesday, January 11, 2012

Cutting of the pie panels.

Holy crap! First all, this takes forever, about 4 hours to get everything you see here complete. In the end, it looks FANTASTIC with a few minor glitches that I can fix later.

First I want to show all my pie panels drawn out. They are numbered how they are on the outer dome so that I will be able to match them up easier.


Next up, I start drilling hundreds of tiny holes all around the pie panels......this takes forever. I did it without stopping and only broke 3 drill bits!


Next, I had to get the panels out! I did this a unique way. I used my Dremel with a reinforced disk, what I did, was slowly trace along the edge of the drill holes so that I had a "track".......then on one end of the drill holes, I used the Dremel to go ALL THE WAY down through the aluminum.....like pictured below.


Then, what I did was throw some WD40 on there, take my hack saw with a handle, and quickly and easily cut the piece out.


Next up, was to file the inner dome cutouts....I started slowly.


Eventually, I got them all fairly smooth. I will still go over them again at a later date to make them even smoother, but so far I am more than pleased.

Next, I had to do what any guy would do........test it with my outer dome! As you can see, the results are pretty good!!! I wanted to start filing the cutout pieces (that attach to the bottom of the pie panels) but decided it was time to take a break for a day or so and recoup from this long mess! Here are the test pictures!!


Tuesday, January 10, 2012

small update.

It took me 5 tries......but I finally have all the panels drawn on the dome that I want to cut out. The dome kept shifting on me while I was drawing a piece, I wouldn't notice it, and then the next piece would be out of sync with the previous piece and so on, but I can safely say 100% that all the pieces are ready for cutting. I have decided to go ahead and cut all the pieces that should be cut, and then for ones I plan to be non-functional, I will simply secure them down. This way though, in the future, I can always open them back up!!

Tomorrow, I have a light day so I expect to start making cuts on the pie panels......should be fairly scary, so we'll see how she goes.

Sunday, January 8, 2012

Dome Progress

I finally started on the dome. All of this was done yesterday, but was too lazy to add the photos today. I want to say that all the work you see here took place over about 3 hours.

For starters, I tried to use a mouse sander on the inside to remove the burrs. However, due to the dome being a 'dome' and my sander being flat, it was VERY difficult to get it in there and actually do anything. So I abandoned the mouse and will just do it by hand.


Next, you can see the start of removing the dome panels. I was nervous as hell to do this. Actually, i'm nervous about the whole dome....playing around with a $500+ piece of aluminum, and one flaw causes all of it to be ruined is a scarey thought. Anyway, I bought a hacksaw blade with a handle at Lowes for around $7.00 and a small can of WD40. What I did, was spray some WD40 on the saw blade, and then spray it on each of the tabs I planned to cut.


What I did was cut all but one tab out, and then I simply would bend the part until it would break away.


Finally, here is a shot with all the panels removed!!


Next, it was time to start filing the tabs off the dome. I used a D-shaped file. This allows me to have a flat side for the flat surface, and a curved side for well......the curved parts.


Finally, I had to de-burr, sand, and file the panels.....I came up with quite a process for this. First, I would take a panel, and start filing the tabs. Once that was done, I then went around the whole thing and de-burred it. Once that was done, I took a sanding block, and slightly sanded all of the edges so that they were extremely smooth.


Finally, to remove any coarse lines that were sanded on the dome, I took a brown brillo pad, and lightly sanded everything. I want to maintain a duller look, more of a "Empire Strikes Back" look and I feel like this dome definitely achieves that.

In other news, my legs are now awaiting clear coat and I have also ordered a Radar Eye and well as a lense!!

Wednesday, January 4, 2012

Finishing the legs.

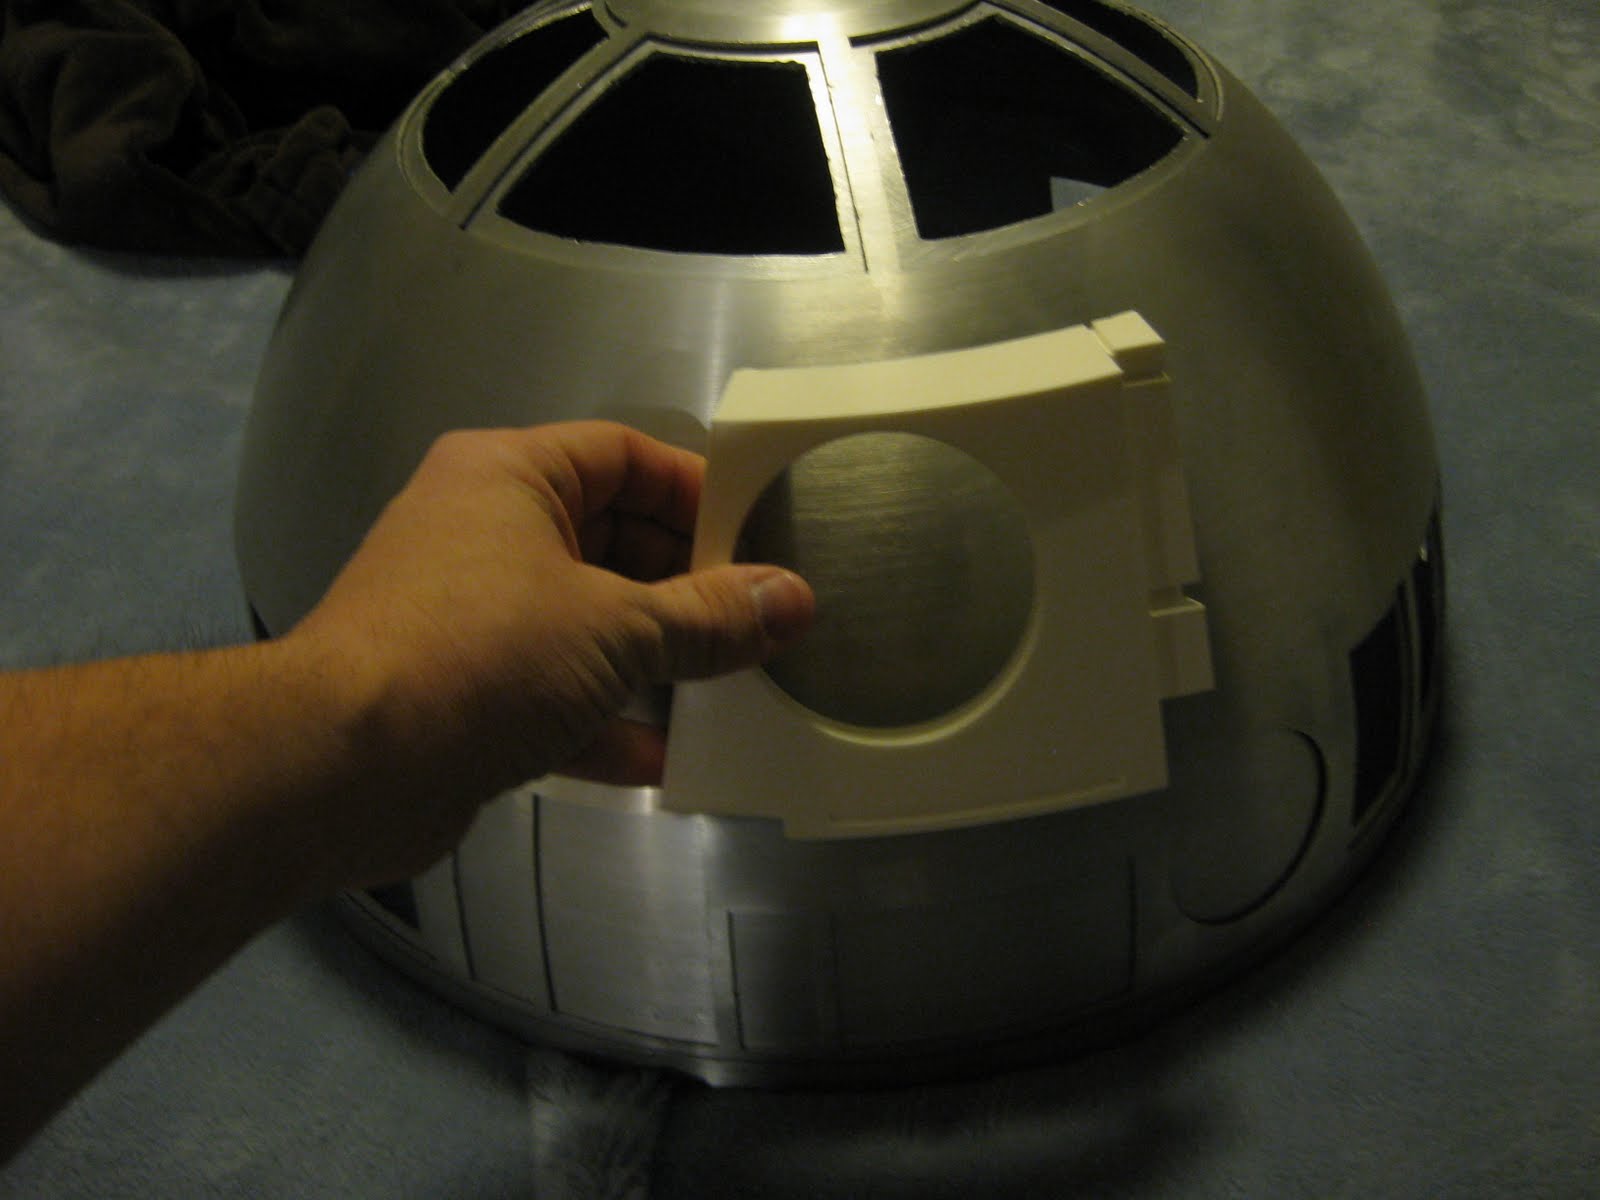
Today I told myself......"I will cut out some dome panels tonight"......however that just didn't happen. Before I dive into the dome, I want to make sure I know 100% what the hell I am doing, and I am just not there yet. So I took today's beautiful weather to sand and repaint my legs.

To start with, I used a thick sanding block to go over the runs on the legs. Gradually, when I could see the primer coming back and the run line gone, I would move to a different area. Here you can see what the leg looks like partially painted.


After I got it to this point, I took some 1200 grit sandpaper, and sanded for awhile to smooth things out.

While this was going on, I figured it was a good time to go ahead and paint the middle leg and skirt as well. The painting of them went a LOT smoother than my main legs did the first time. I thought standing them up would give me an advantage the first time, however all it did was cause the paint to run. The paint on these two turned out fairly well, except for the skirt.


While painting the skirt, I quickly noticed a problem. Because I layered MDF together, and never put a coat of filler or anything on it, all of the lines were starting to show through!!!! Fortunately, this is a very easy fix that just requires some wood filler and sanded. I won't have to do the whole thing, just the sides.


Next, I laid the main legs on the same paper outside, and got them ready for paint. For these, really after the 1200 sanding, all I do is take a microfiber cloth and scrub them really good. This 'should' pick up any loose particles, but the real test of that will come once they dry. Fortunately, there are no bugs right now where I live (knock on wood).


And finally, a shot of when they are all painted. They look 1000000000x better, yes, I said 1000000000x. They are smooth as silk (right now) and have absolutely no runs, tomorrow evening, i'll flip them over and do the opposite side. After that, I want to give them about 2-10 days to fully dry before I clear coat them.


That's it for today, it's one of those days where a lot was accomplished, and it didn't take very much time. Now that's a good day.

Sunday, January 1, 2012

First touch of white!

Against my better judgement, I decided that today would be the date for some white paint to grace my legs. I also picked a day that was 30+ MPH winds. I shielded them the best I could, and am somewhat pleased with the results.

For starters, I sanded both legs with 1200 grit sandpaper. This was mainly to remove any dust/debris and prime the legs for the paint.


Next, I engineered this little device to allow me to spray both sides of the legs without having to flip them over. The downside to this, is that it causes the paint to run. Actually, it did phenomenal, the downside is that I am a shitty spray-painter and put on too thick of a coat.


Finally, you can see the legs in all their white glory. There are a few runs that will need to be sanded down, and I need another 1-2 coats anyway, but for the most part, they look good. There is a piece on the short side where you can see wood grain, which is entirely my fault. However, I don't think I will worry about fixing it at the given time. Secretly, I hope to one day switch everything out with aluminum.


You may be asking why I painted the white BEFORE adding the beefy ankles, and that's simply because I intend for them to be resin or styrene, and a coat of paint underneath them will not be an issue. I also recently ordered an aluminum LDP, and am still waiting on my skins to arrive!