Monday, October 31, 2011

More skirt work!

To start with....I wanted to touch up some paint on the frame. So I took it outside and just sprayed a few areas that needed a little help to look perfect.


Next, I started to cut the pieces for the inner frame on the skirt.


And finally, glued up the inner framework. It stinks that I need to let them dry overnight before I can secure them to the skirt, but patience is key!

Saturday, October 29, 2011

New part day!!!

Every once in awhile, something comes in the mail that's not a bill! Friday was a fantastic day for me! Why? Because I finally got my first part that I actually had to buy for R2. I said in my last post that I have ordered two parts, and well, the first is finally here!

So what do we have here??


Open the box you say?!


All wrapped up nicely!


Look at it all bubble-wrapped! Couldn't be happier!!


My aluminum coin slots!!!!!!!!!!!!!!


I received this part this past Thursday, October 28th, 2011.

Saturday, October 22, 2011

I'm still alive!!

I am still alive!!

Surgery went well and I literally had no idea it ever happened. However, the rehab has been rather hellacious so still no work has been done on R2. Hopefully, Monday I can return to work and begin to start finalizing my skirt. Assuming it goes well, then great!! Otherwise, I am strongly considering the resin skirt, I believe it's like $70.00 plus shipping and might save me quite a bit of work. I am excited to start actually getting some pieces to start building it up!

One major note, I won't reveal "what" I bought, but I did get in on my first parts run from the forums, so when that gets here, I will have a big hoopla post! I am also considering getting in on those aluminum coin slot run.

Thats it for now, I will send another small update here tomorrow or so and just fill you all in on how I am doing.

If I get 'really' lucky, tomorrow I might be able to finish framing the inside of the skirt so that I can start cutting the outside pieces. I also need to start looking for a local supplier of styrene, otherwise, i'll hafta go to my online source!

edit: So after thinking about it, I decided to go ahead and get the aluminum coin slot too. I figured I may not be able to get this part for awhile, and I really want as much aluminum as I can have outside of the frame.....so, I have a coin slot on the way!!

Sunday, October 16, 2011

unfortunately......

Unfortunately, tomorrow at 9am CST, I am having ACL surgery. So the post prior to this is my last real update for probably a week. I intend to Tuesday-ish to order the styrene for the edge of the skirt. I am also still contemplating on getting in on this dome run. If I buy the dome, I have to postpone the skins for awhile, if I wait on the dome, I can get the skins sooner...........I think the skins will be more beneficial than the dome at the moment (that way I can start acquiring other pieces).

Needless to say, I am very nervous about my surgery. I have never had surgery and am definitely nervous. I will update the blog as soon as I can to let everyone know that I made it.
Well, very little was accomplished today, I glued up the box to the skirt. Took some time getting it right and made a little change to the original. I used 1/2" on the long sides and 3/4" on the short sides. The reason for this.......is that I used wood from the cutout to make the long sides, and I made them 1/4" shy of the edge of the cutout, and then, when you stick a 3/4" piece on there, it comes out to be 1/2" extended on the board.......I lose 1/4" on both sides of the cutout, but it meant that I could save some wood, make a cleaner cut, and utilize some of my half inch for the rest of the box frame.


Saturday, October 15, 2011

Skirt build - Day 1.

First up, if you SAVE the inside piece from your middle ring, you'll have a perfect starting piece for the skirt.


Once you cut the circle out to the indicated radius, you'll want to mark the center lines. Fairly simple.


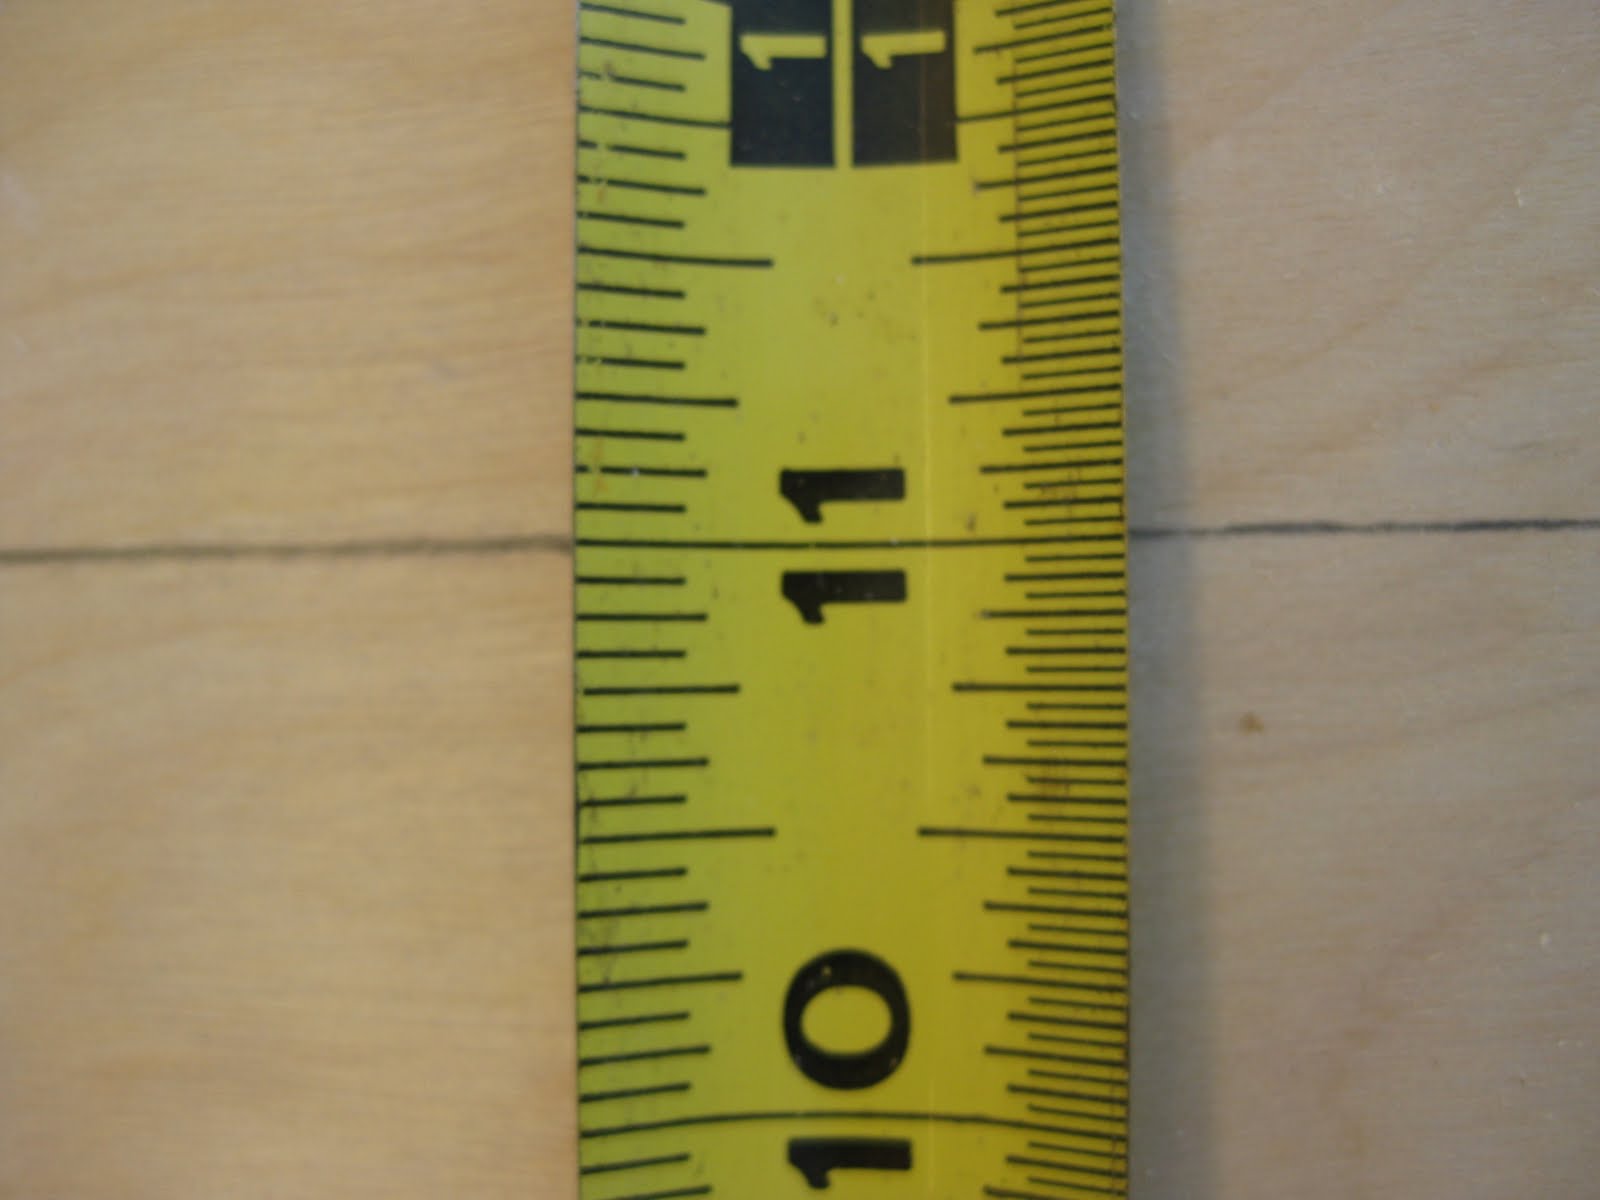
For the sides that are cut out, you'll want to ensure that they are as close to 11" as possible!


From this view, you can see the pieces that are about to be hacked away.


Next, set up your table saw!


Make sure the blade is in the right spot............


Next, hack off the sides!!! I free-handed them, and it was very simple to do.


alternate view.


Next, mark the inside cutout and start Jig-sawing.


All jigged out and ready to go!!


Do some sanding on the edges (especially the outside) and make it look clean!

Finally, got some dimensions together to help box up the inside of the skirt!! More to come tomorrow.

Friday, October 14, 2011

Frame-A-La-Palooza!

The frame is done and PERFECT! Wanted to share a plethora of photos with you all so you can celebrate this frame-a-la-palooza with me.


And finally, a coveted shot of myself!!

The frame is "complete"

Well, it is...and it isn't. I opted not to worry about taking any photos because who wants to just see a photo of a black ring? Nobody! The ring painting went straight-forward, and now it's awaiting the final assembly (until gluing). Still having trouble acquiring a set of aluminum skins, so in the meantime, I have decided to start on the skirt! I would like to thank Victor Franco (Have fun in R2LA!) for giving me a scanned set of his drawings to help with my skirt. I am going to try to make my skirt tutorial as in-depth as I can so that others may follow it in the future.

The bad news with all this, is that this is my last real weekend to accomplish anything for about 2 weeks. Sadly, awhile back I tore my ACL and my surgery is on Monday. My plan (hope) is to get most of the pieces cut for the skirt this weekend, and come Tuesday or Wednesday to order the styrene for the skirt. I then hope to be able to cut the styrene while I am recovering throughout the week. It's my first surgery so I am a little weary!

Lastly, when I get home this evening, I will assemble the frame 100% and post some pictures here!

Thursday, October 13, 2011

ALLLMOOSTTTT there.

Still no pics, but I will have some tonight. It's safe to say that not only is that middle ring now perfect, but it's also beautifully dado'd!! All it is awaiting is a paint job to match the rest of the frame.....which it will be receiving tonight! Once it gets it first coat, I will get out there and get some photos! When the thing is dried (tomorrow), I will fully assemble the frame and get some new photos so everyone can rejoice that the 'lord of the rings' conquered all!

Monday, October 10, 2011

The middle ring....

I should call myself the "Lord of the Rings" since I had to cut so many of these damn things before I finally got it right, however, I am THRILLED to say that the middle ring is 90% completed. The outside and inside circles are cut (and fit perfectly) and all that is left to do is to dado it out and paint it, and then we'll be entirely done with the frame. I think it's time to look for some skins!! I will post some more photos once I start painting the frame!!

Saturday, October 1, 2011

Almost done!!!

ANDDDDD here is the frame almost entirely done in it's glorious black finish!! I head out tomorrow for the "dagobah" system (otherwise known as Florida) for a week, and when I get back, I will start trying to acquire some aluminum skins, and finish off that blasted middle ring!!!


Painting the frame!

I opted to paint my entire frame. There is no real reason for this other than looks while building, and the little that you'll see when the dome is off. I really just wanted to have it look more completed! Anyway, I picked up one can of Rustoleum Texture Black. I went with the texture just because.......well, just because.


I laid out all the parts on some workman's paper...and began to spray them.


By the time I was done spraying the first side.........two problems had occurred.

A. It was TOO dark to finish the second side.........and

B. One can of spray paint is NOT enough to do the entire frame.

So today (saturday) I went and picked up another can and did the other side. I still have to do that middle ring, but I swear..........3rd times a charm!


one final comment here........I want to say I absolutely LOVE how the paint turned out.....it dries evenly (even if it doesn't look it) and just makes the whole frame appear 'more' than just wood. For a 10 dollar investment, I think it was money well spent, even if most people will never see it.