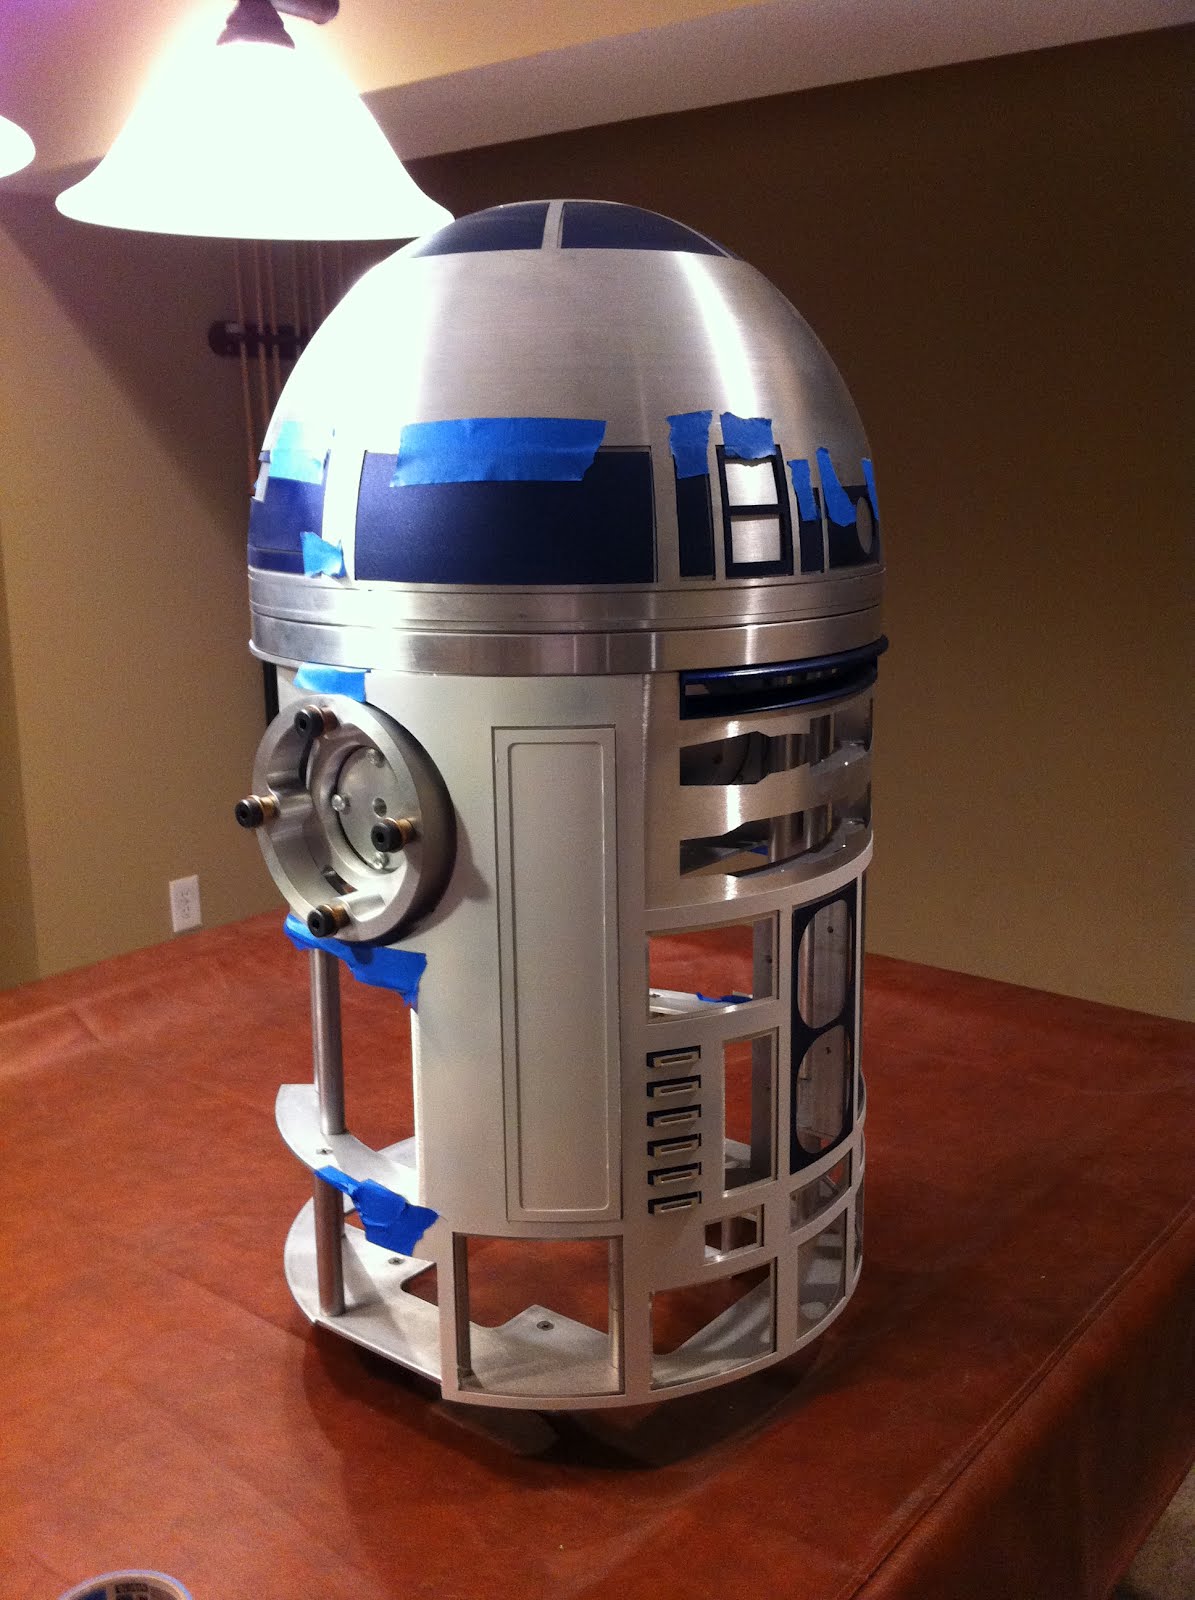
Today was a rather productive day. I started by drilling the inner dome to start getting it ready for all the accessories like the HPs, PSIs, and Logics. Tons of small holes are drilled around the outlines and will eventually be cut out with a dremel, a file, and a lot of love!

Next, it was time to start mounting the dome drive. The drive I have was made by Daren, and is very nice. I started by counter-sinking some holes in my JAG frame.


Next, I screwed the dome drive into the frame.

In this shot, you can see how I secured the spring. I did a washer, then a nut, the spring, and then two more nuts.

Next, I wanted to go ahead and install the nylon ring into the inner dome. To get the ring to fit, I had to make a small cut (about 1") into the inner dome so that it would slide over the ring.....

Here, you can see how the dome fits on the angle ring after it's been installed.
 PROTIP: Do NOT place your nylon ring entirely on your rockler bearing until you are ready to MOUNT it. It is damn near impossible to remove once it's on there.
Here, you can see how the cut fits around the ring. My plan here, is to put one counter-sunk screw on each side of the cuts. Then, put one every 90 degrees going around the dome, essentially counter-sinking 5 screws into the dome.

Here, I got my rockler bearing installed so that the dome can be installed. However, I do not want to put it on there yet because I still need to drill out a lot of holes. However, I needed to place the nylon ring in there for support when cutting out pieces on the side.

I was going to finish counter-sinking the holes in the dome, HOWEVER, I do not have a drill-bit small enough for these screws. So tomorrow, I need to go to Home Depot or Lowe's and pick up a small torx head bit. I also need to get some reinforced Dremel discs so that I can finish cutting the inner dome parts.
The JAG aluminum skirt should be here soon, and I am slowly working on acquiring three (3) aluminum HPs.
 Next, it was time to start mounting the dome drive. The drive I have was made by Daren, and is very nice. I started by counter-sinking some holes in my JAG frame.

 Next, I screwed the dome drive into the frame.
 In this shot, you can see how I secured the spring. I did a washer, then a nut, the spring, and then two more nuts.
 Next, I wanted to go ahead and install the nylon ring into the inner dome. To get the ring to fit, I had to make a small cut (about 1") into the inner dome so that it would slide over the ring.....
 Here, you can see how the dome fits on the angle ring after it's been installed.
 PROTIP: Do NOT place your nylon ring entirely on your rockler bearing until you are ready to MOUNT it. It is damn near impossible to remove once it's on there.
Here, you can see how the cut fits around the ring. My plan here, is to put one counter-sunk screw on each side of the cuts. Then, put one every 90 degrees going around the dome, essentially counter-sinking 5 screws into the dome.
PROTIP: Do NOT place your nylon ring entirely on your rockler bearing until you are ready to MOUNT it. It is damn near impossible to remove once it's on there.
Here, you can see how the cut fits around the ring. My plan here, is to put one counter-sunk screw on each side of the cuts. Then, put one every 90 degrees going around the dome, essentially counter-sinking 5 screws into the dome.
 Here, I got my rockler bearing installed so that the dome can be installed. However, I do not want to put it on there yet because I still need to drill out a lot of holes. However, I needed to place the nylon ring in there for support when cutting out pieces on the side.
 I was going to finish counter-sinking the holes in the dome, HOWEVER, I do not have a drill-bit small enough for these screws. So tomorrow, I need to go to Home Depot or Lowe's and pick up a small torx head bit. I also need to get some reinforced Dremel discs so that I can finish cutting the inner dome parts.
The JAG aluminum skirt should be here soon, and I am slowly working on acquiring three (3) aluminum HPs.
I was going to finish counter-sinking the holes in the dome, HOWEVER, I do not have a drill-bit small enough for these screws. So tomorrow, I need to go to Home Depot or Lowe's and pick up a small torx head bit. I also need to get some reinforced Dremel discs so that I can finish cutting the inner dome parts.
The JAG aluminum skirt should be here soon, and I am slowly working on acquiring three (3) aluminum HPs.