
Friday, December 30, 2011
NEW PART DAY!
Also forgot to mention earlier that the mailman dropped off a new part! A restraining bolt to keep R2 in check! Here's a picture! All aluminum and only $12!


12/30
Almost end of the year, and today I managed to get my skirt fully sanded, and primed. Added the final coat of primer to the center leg as well. Tomorrow, here in Kansas City, we're expecting a high of 61 degrees.......sounds like a good day to try to get some white on and see what happens. I've engineered a rig to help me paint both sides at once, so we'll see how it goes. Didn't take any photos tonight as there wasn't "too" much interesting stuff, however, I will take photos when the white goes on!
Thursday, December 29, 2011
more work!
Got a little more work done this afternoon. Nothing dome-related though. I got the skirt 3/4 the way sanded, and then on the last side, I added a little more filler and will let it dry over-night to allow it to properly harden. I also applied another coat of primer to the legs, and then I ran out half way through, so I went up to the hardware store for another can.....! When I got home, I finished spraying the legs, and then took my dome and took these few crappy pics!


As of right now, I am still on pace to get some white done this weekend.....that'll be a good moment. Also, from looking at the pics....you can tell I really need skins!


As of right now, I am still on pace to get some white done this weekend.....that'll be a good moment. Also, from looking at the pics....you can tell I really need skins!
Wednesday, December 28, 2011
dome MADNESS!
Well......truth be told, it's cold......so not much is getting done until this weekend, but tonight, while sitting around the house, I removed all of the small 'waste' around the panels of the dome. This dome has a really tight fit around the inside dome, so I may not need to do much sanding to get it ready to go ( I think Daren knows I hate sanding)....anyway, here a few pictures of the small progress.


Hope/plans for this weekend include possibly removing dome panels, sanding/refilling of the skirt, priming of the skirt, and depending on the weather, maybe a first coat of white on the legs/skirt........aim high right?


Hope/plans for this weekend include possibly removing dome panels, sanding/refilling of the skirt, priming of the skirt, and depending on the weather, maybe a first coat of white on the legs/skirt........aim high right?
The DOME Arrives!!!
December 28th, 2011........what a day!!!
I came home to a big box on my doorstep! I knew what it was by the sender, but it didn't stop me from taking a series of photos!!
Here's the box as it sits...

I cut open the edges with a pocket knife.....

I open it up to find........another box?!

Open the other box and reveal this round thing!!!

Now you can start to see the top of something....aluminum, and ROUND?

removing some of the packaging, you can see the 300mm dome!!

Here you can see all the pieces laid out side by side!!!!!!!!

Here is a shot showing how close the two domes are in size!

December 28th!!! A day that is now a new holiday for me!!!
I came home to a big box on my doorstep! I knew what it was by the sender, but it didn't stop me from taking a series of photos!!
Here's the box as it sits...

I cut open the edges with a pocket knife.....

I open it up to find........another box?!

Open the other box and reveal this round thing!!!

Now you can start to see the top of something....aluminum, and ROUND?

removing some of the packaging, you can see the 300mm dome!!

Here you can see all the pieces laid out side by side!!!!!!!!

Here is a shot showing how close the two domes are in size!

December 28th!!! A day that is now a new holiday for me!!!
Monday, December 26, 2011
coin slots painted!
Tonight I got the coin slots painted and clear coated. It took some doing finding cans of Sonic Blue Pearl, but I managed after going to 3 different stores!!
So here's a look of the unpainted slots, and the two cans of paint I bought.

Finally, I went and sprayed lighter coats of the blue on. I waited about 10 minutes, and would spray another coat on, and then did this three times. After the 3 coats, I then waited 30 minutes, and did a coat of clear. I waited 2 minutes for each coat of clear and placed two coats of clear on here and allowed to dry. I gave it 4 hours of dry time before taking these photos! I must say, I am very happy with the results.

Now, it's time to remove the masking tape that protects the ends of the slots. If this tape failed me, then it would pretty much ruin my coin slots.

so far so good.........

and finally, all of the masking tape removed!!!!!

Very happy with how this came out. Took a lot of time masking and prepping, but I think the end result in worth it. The only downside is I still think that this is a darker blue than I would like, however, I am keeping it for now, and will see what it looks like in a more natural light!
So here's a look of the unpainted slots, and the two cans of paint I bought.

Finally, I went and sprayed lighter coats of the blue on. I waited about 10 minutes, and would spray another coat on, and then did this three times. After the 3 coats, I then waited 30 minutes, and did a coat of clear. I waited 2 minutes for each coat of clear and placed two coats of clear on here and allowed to dry. I gave it 4 hours of dry time before taking these photos! I must say, I am very happy with the results.

Now, it's time to remove the masking tape that protects the ends of the slots. If this tape failed me, then it would pretty much ruin my coin slots.

so far so good.........

and finally, all of the masking tape removed!!!!!

Very happy with how this came out. Took a lot of time masking and prepping, but I think the end result in worth it. The only downside is I still think that this is a darker blue than I would like, however, I am keeping it for now, and will see what it looks like in a more natural light!
Sunday, December 25, 2011
MERRY CHRISTMAS!!!
MERRY CHRISTMAS EVERYONE!!
December marks the 6th month anniversary since the beginning of my R2 build. Today, After spending time with the family, and things calmed down, I decided to be productive!! With the news that both my skins and dome have shipped, I decided it was time to get a move on and really accomplish something.
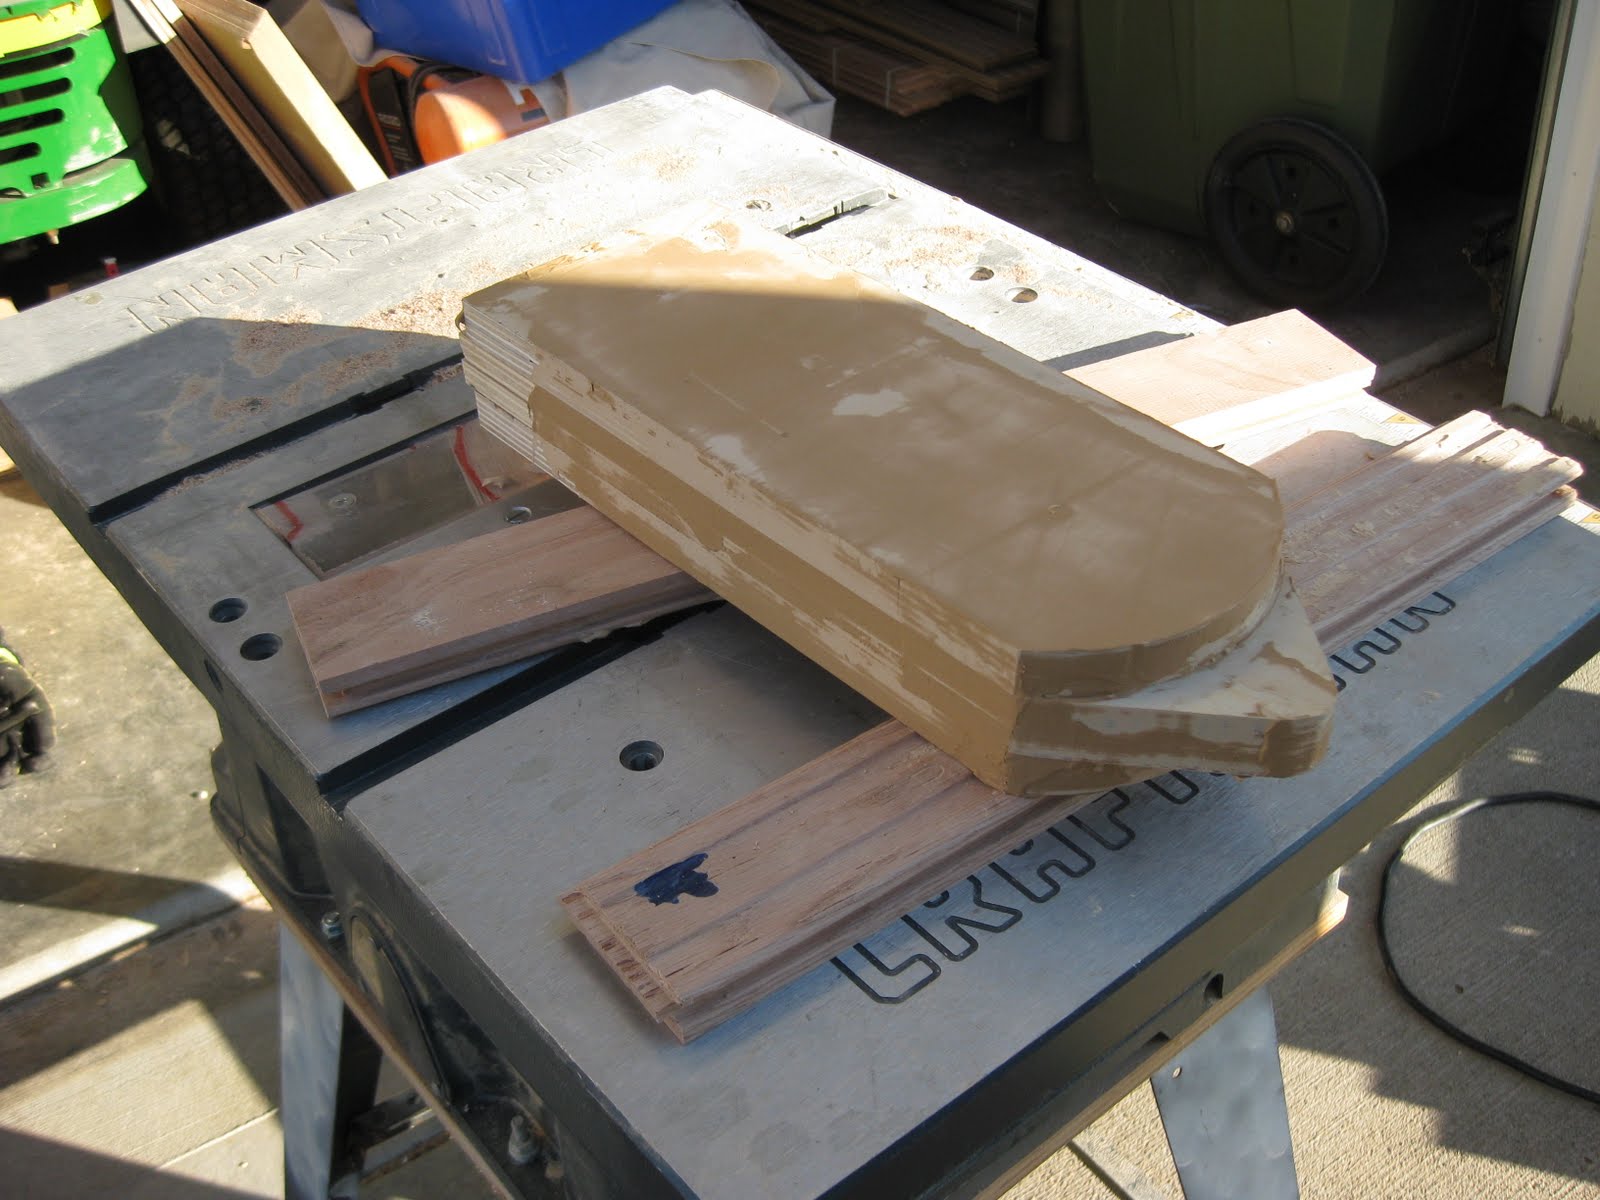
To start with, I needed to cut the grooves in my legs. This was actually fairly simple, I added a 1/4" and a 1/2" to each side to make it 'level' and then proceeded to cut the long edges on the table saw, and used a hand saw for the short edges.

Next up, I needed to start (and finish) filling the center leg. This step went very fast because my center leg was pretty damn smooth with no filler on it. However, just to smooth it all over, I went ahead and filled 90% of the thing. (90% because the upper portion will never be seen.)

Next up, we have a group shot of all the products I will be using. I didn't get to use any of the satin white today, but everything else was used!

Next up, here is a shot with a light coat of primer on the main legs. During this time, the filler was drying on the center leg.

Next, we have my first ever attempt with etching primer. After racking my brain over it, I decided to go ahead and paint my gorgeous aluminum coin slots. I will probably regret it in the future, but.....eh! So, with my first attempt, I decided I should do it with something like these, rather than the skins the first time.
What I did, was mask over the edges of the coin slots (you can barely tell), and then proceed to spray the etching primer over the whole thing. I waited about 5 minutes, and did another coat. I then waited about an hour, and sprayed my normal primer over the whole thing. I plan to use duplicolor Sonic Blue Pearl from a can to pain these beauties, and with some luck, my masking job was good enough that it will look good when it's done. Here is a shot of them in their current state.

Next, I put some clear coat over my resin pieces. They're not the 'cleanest' out there, but when the weathering is applied, they'll look good as new! or used....or?

Now, the moment that has perplexed me for quite some time, cutting the hole out of the skirt. For this, I drilled a 1" hole right along the edge on each short side. I then proceeded to insert a sawzall (spelling??) and go along the edges. Unfortunately, I drilled my hole a little too wide, so I had to use a LOT of filler in there to fix that, but overall, it's pretty good.


Next up, the center leg was dry from the filler, so I used a mouse sander and quickly sanded it smooth, and slapped some primer on it.

Finally, I took a shot of a close up of my grooves.

Currently, they're outside drying, and in about an hour, I will take them in for the night and see what they look like. Tomorrow I intend to do another 1-2 coats of primer, and try to get some white on there! Hope everyone had a Merry Christmas!!
December marks the 6th month anniversary since the beginning of my R2 build. Today, After spending time with the family, and things calmed down, I decided to be productive!! With the news that both my skins and dome have shipped, I decided it was time to get a move on and really accomplish something.
To start with, I needed to cut the grooves in my legs. This was actually fairly simple, I added a 1/4" and a 1/2" to each side to make it 'level' and then proceeded to cut the long edges on the table saw, and used a hand saw for the short edges.

Next up, I needed to start (and finish) filling the center leg. This step went very fast because my center leg was pretty damn smooth with no filler on it. However, just to smooth it all over, I went ahead and filled 90% of the thing. (90% because the upper portion will never be seen.)
Next up, we have a group shot of all the products I will be using. I didn't get to use any of the satin white today, but everything else was used!

Next up, here is a shot with a light coat of primer on the main legs. During this time, the filler was drying on the center leg.

Next, we have my first ever attempt with etching primer. After racking my brain over it, I decided to go ahead and paint my gorgeous aluminum coin slots. I will probably regret it in the future, but.....eh! So, with my first attempt, I decided I should do it with something like these, rather than the skins the first time.
What I did, was mask over the edges of the coin slots (you can barely tell), and then proceed to spray the etching primer over the whole thing. I waited about 5 minutes, and did another coat. I then waited about an hour, and sprayed my normal primer over the whole thing. I plan to use duplicolor Sonic Blue Pearl from a can to pain these beauties, and with some luck, my masking job was good enough that it will look good when it's done. Here is a shot of them in their current state.

Next, I put some clear coat over my resin pieces. They're not the 'cleanest' out there, but when the weathering is applied, they'll look good as new! or used....or?

Now, the moment that has perplexed me for quite some time, cutting the hole out of the skirt. For this, I drilled a 1" hole right along the edge on each short side. I then proceeded to insert a sawzall (spelling??) and go along the edges. Unfortunately, I drilled my hole a little too wide, so I had to use a LOT of filler in there to fix that, but overall, it's pretty good.


Next up, the center leg was dry from the filler, so I used a mouse sander and quickly sanded it smooth, and slapped some primer on it.

Finally, I took a shot of a close up of my grooves.

Currently, they're outside drying, and in about an hour, I will take them in for the night and see what they look like. Tomorrow I intend to do another 1-2 coats of primer, and try to get some white on there! Hope everyone had a Merry Christmas!!
Subscribe to:
Posts (Atom)