Saturday, October 6, 2012
Attaching the Skins!
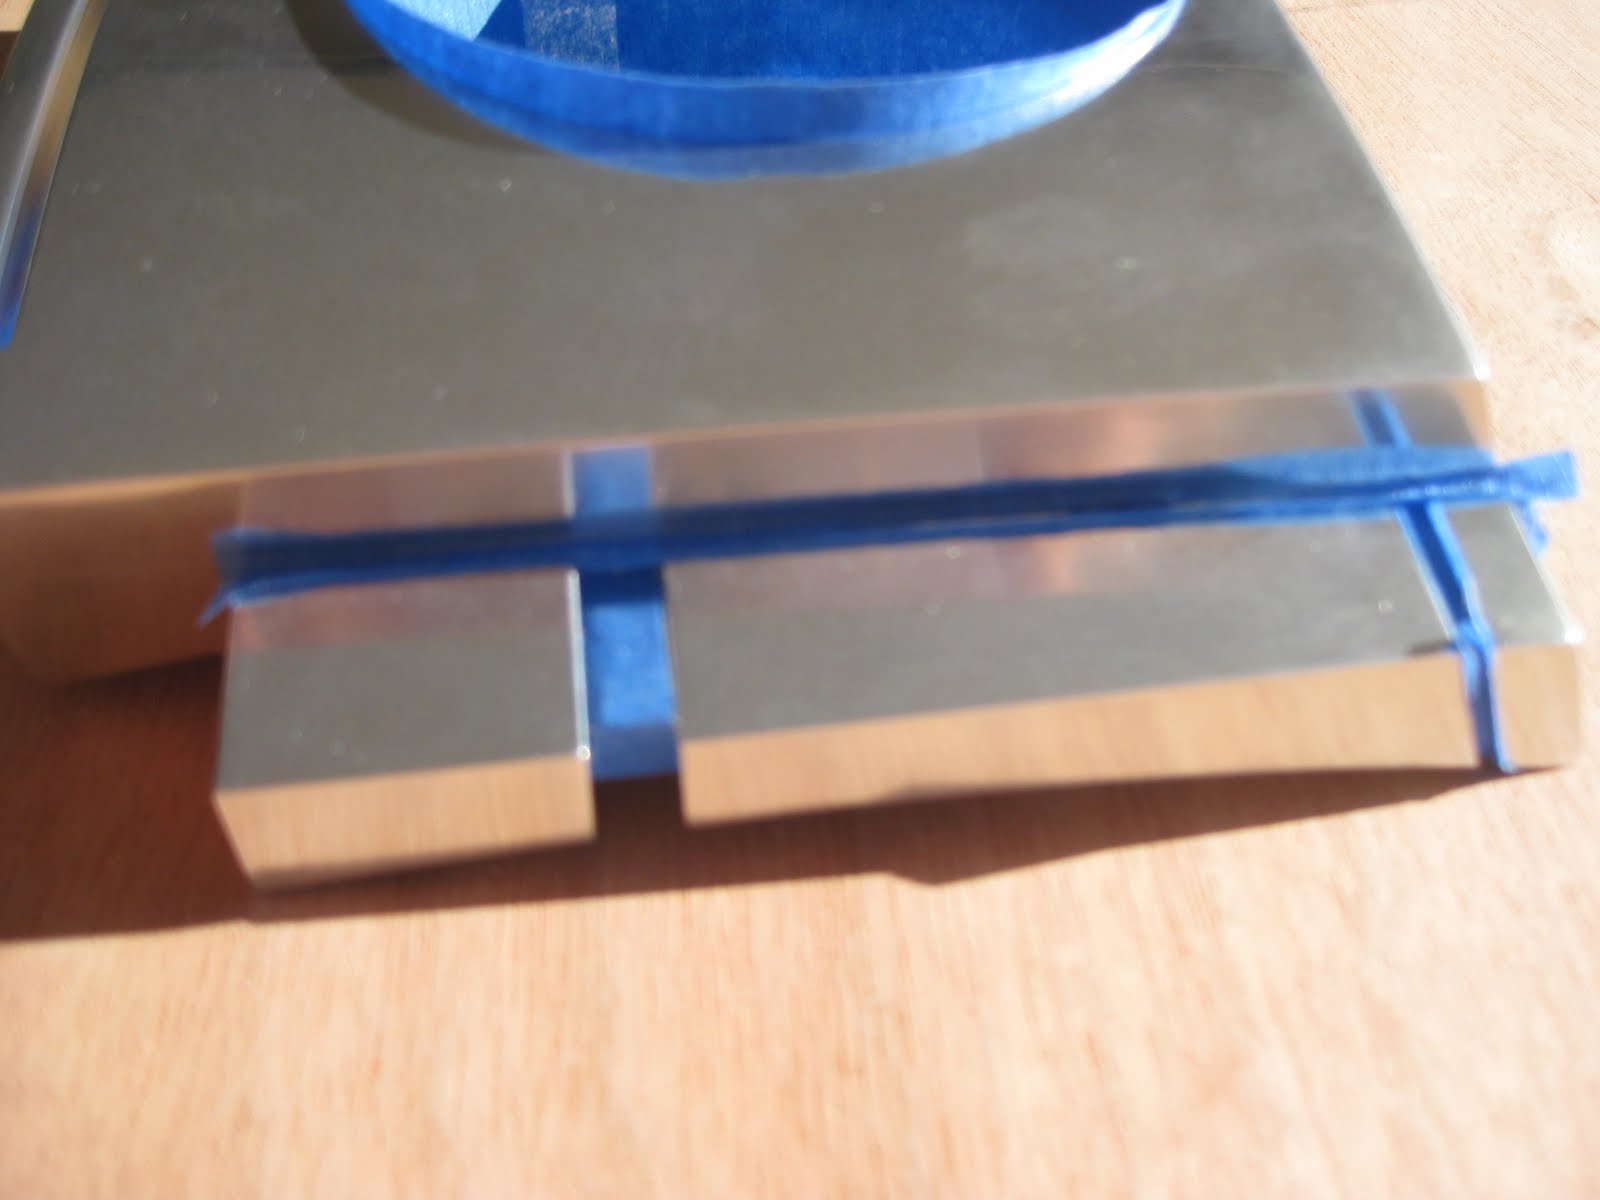
After having these aluminum skins for a LONG time, and now having a newly renovated frame, it's time to really make R2 come alive and add his skins! For starters, I am using Daren Murrer's "Skin Snaps." The premise behind them is that one piece attaches to the skins, and the other is firmly attached to the frame, then the two pieces attach to one another and become one.
Daren provides a tutorial to mount these, and as helpful as it is, I decided to do some of my own modifications and make this a little easier of a process. I will not go into details of everything, but you can look at the photos and see the modifications I made, and as always, you're welcome to ask questions!
Here are some photos of the current progress. The rear skins have not been installed yet, just the front inner skin. Tomorrow, I hope to get the rear inner's attached, as well as getting both outer's VHB taped on.
www.commando8.com
It's been awhile for any updates, but for those of you not involved with Astromech, let me give you a nice update. Turns out, my frame rings on my JAG frame were 1/16" too big for the skins to fit properly all the way around. I was left with the choice of leaving the gap, splicing in some styrene, or finding a local shop to shave 1/16" off the rings. Every shop around here quoted me an astronomical amount to do this, which left me little options. Until.......
James stepped in. The title of this post is www.commando8.com and that's largely due to the fact that James stepped in and offered to to fix my frame for FREE! A frame he didn't even produce. James, otherwise known as Com8, is the current producer of fine aluminum frames for your R2 build. He offer's 3 versions of the frames, even one for the budget minded individual! James went ABOVE AND BEYOND the call of duty and accepted my frame as his own, and provided me with a frame that was now absolutely perfect, and truly, one of a kind. If you're wanting to start your own R2, I highly suggest considering one of his frames. The customer service he provides is truly amazing. Here are some photos of my new and improved frame!
Check out the lightened holes on the top of the frame!
Here is another photo of the top looking across the brace! See that hole in the middle? Yeah, James added a hole for a slip ring!
Here is a photo of the frame assembled and the coin slot cut-out that James added!
Finally, here is just another shot of it all put together. It's truly unique and amazing. The frame is just drop-dead gorgeous.
Here is another photo of the top looking across the brace! See that hole in the middle? Yeah, James added a hole for a slip ring!
Here is a photo of the frame assembled and the coin slot cut-out that James added!
Finally, here is just another shot of it all put together. It's truly unique and amazing. The frame is just drop-dead gorgeous.
Monday, September 17, 2012
Con-X KC
This past weekend, September 14th-16th, I attended my first convention as a "guest" rather than just a normal con-goer. The convention was very tiring, and my R2 was a huge success, even though he wasn't finished. This con however, was very small....smaller than anyone was thinking. It was a Con that was held over 3 days, however it really only needed to be held on Saturday. Friday and Sunday were unbearably slow! It did give me a chance to meet the local 501 guys and learn more about them and how to join their organization! We all went to dinner Saturday night, and it was a fantastic time!
This coming Saturday, I will be photographing the 501st at the Lego Store, in Overland Park, KS, so if you're reading this, and in the area, come on out!!!
Lastly, here are a few photos of our booth from the convention. The man sitting at the table is a fellow droid builder named George, and the completed droid belongs to a 501 member named Gary!
And here is the only photo of me that I could find!!
Tuesday, September 11, 2012
"Eye" of the droid.
Risin' up, back on the street.
Did my time, and took my chances.
Went the distance.
Now i'm back on my feet.
Just a droid, and his will to survive.
So many times it happens too fast (WWSD!).
You trade your passion for glory.
Don't lose your grip on Leia's dreams of the past.
You must battle, to survive!
It's the, eye of the droid.
It's the thrill of the hunt.
Risin' up to the challenge of our rival.
And the last known survivor...
Vader.
So yes, I am excited. The dome is "El Fin" as it were, or done. Well, not completely, but it will receive NO work for a long period of time. In fact, I will not even attempt to hinge it until the rest of the droid is complete. For starters, here's a look at my new David Shaw Radar Eye.
The most important steps is making sure you mask the eye properly in the correct places. For me, I also masked the edges of the eye.
Finally, got some paint on there and let it dry.
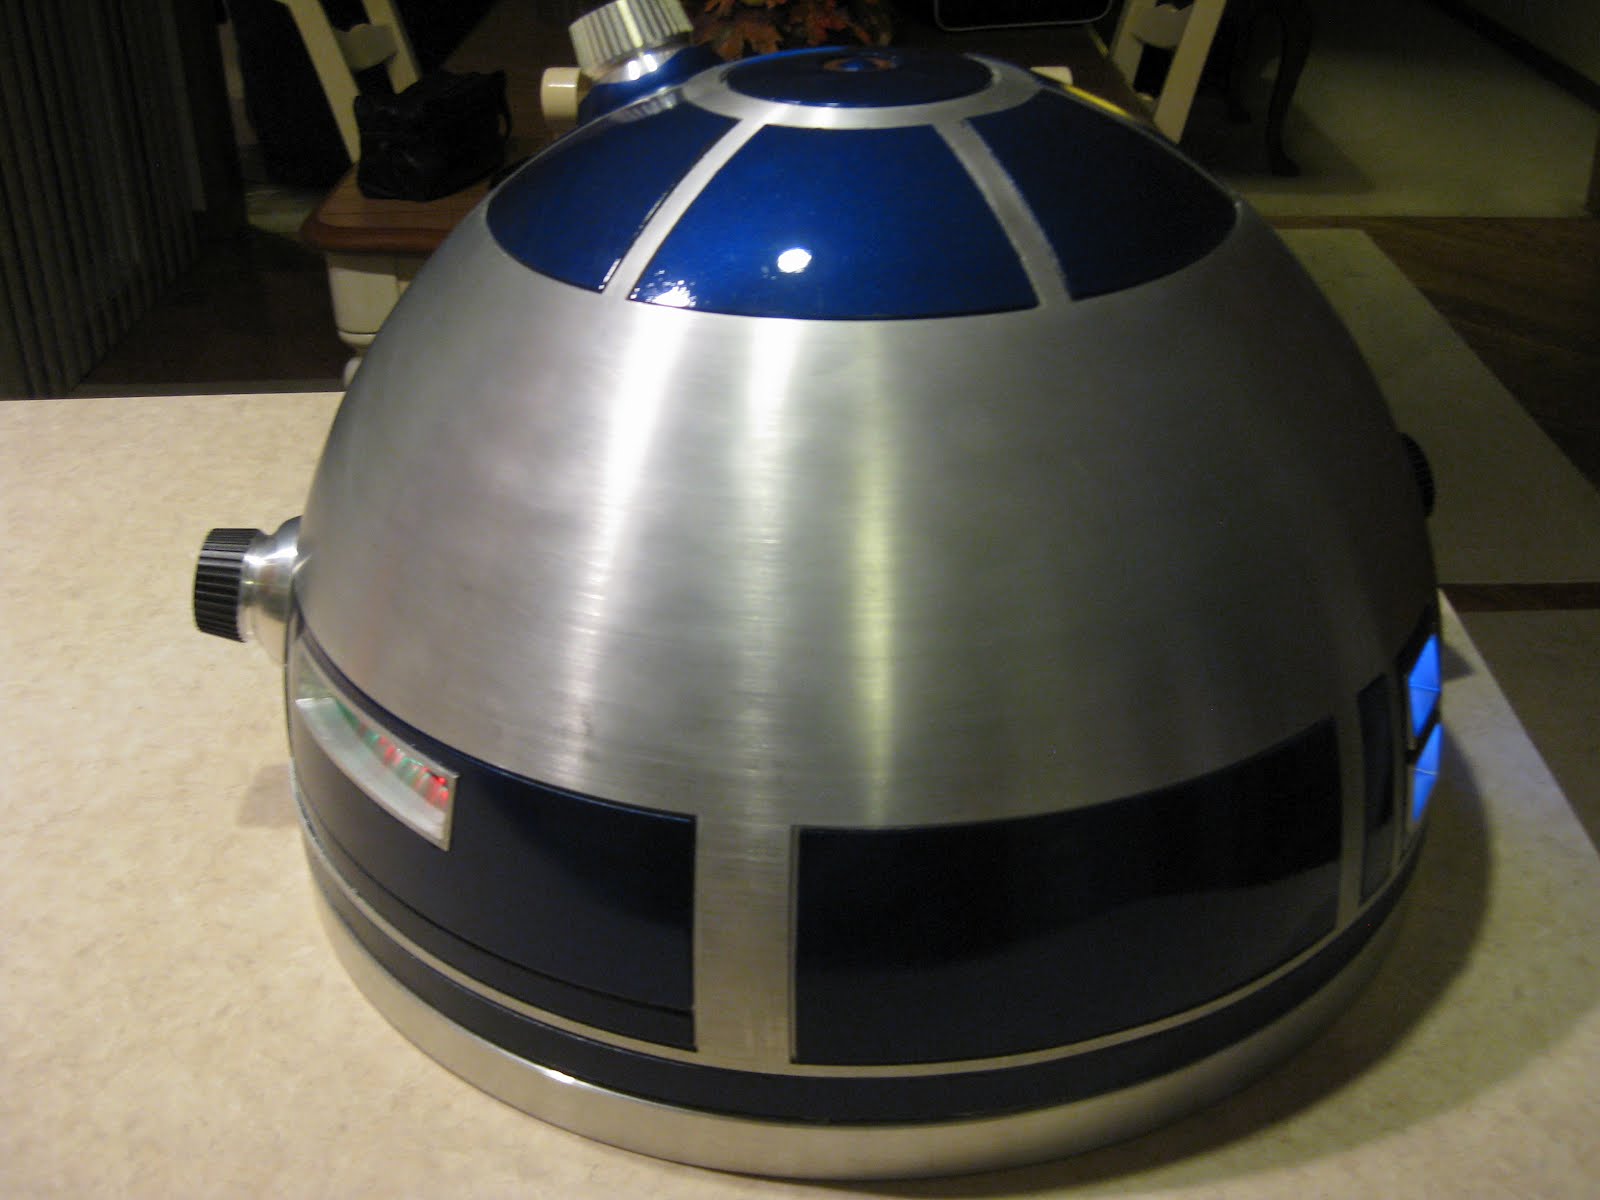
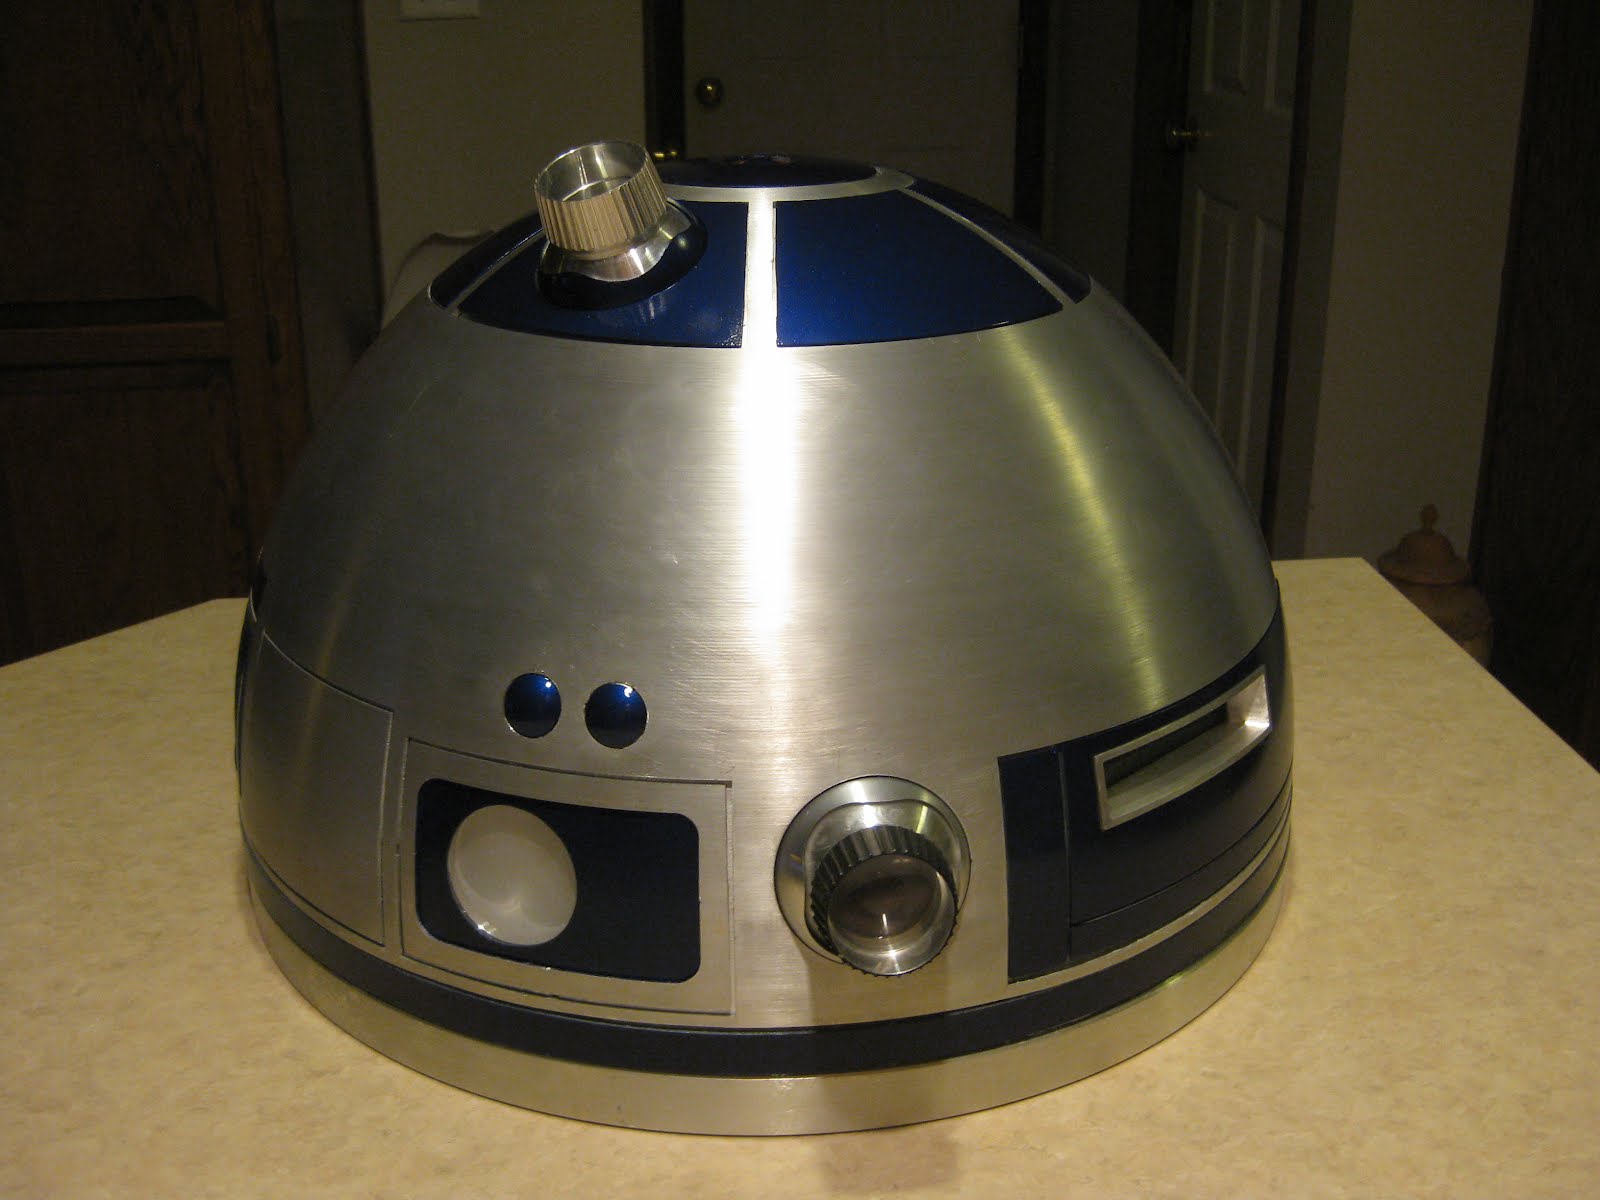
And now...the big finale. Here is the dome, in all it's glory. I am MORE than happy with how it turned out, however, I do feel like I mounted the eye just a little high! So without further ado, here you go! Enjoy!!
Here is a close up shot of the side details. I am rather happy with how they turned out.
Now for some skin work. With some luck, my skins will be attached by Thursday! Cheers!
Monday, September 3, 2012
FINALLY!! The lights are fixed!!
Those who know me, know I have been having an issue with my front PSI not working. After spending a LONG time talking with a good friend, he suddenly had a thought that maybe my aluminum PSI housing was causing a short on the front PSI. So, today, I finally removed the front PSI......removed it from the holder....plugged it in, and BOOM. Son of a gun worked! Every single light on that damn dome illuminated with all it's glory as I was declared victorious!!! Here are some photos to show the monumental occasion.
Sunday, September 2, 2012
ULTIMATE Dome Topper.
I have labeled this dome topper, ULTIMATE, simply because it cost me $2.19 after tax. Basically, my dome topper consists of the "golden ring" from the 300mm dome, two washers, a wing nut and a small carriage bolt.
The first step, was to spray the carriage bolt with self etching primer.....as seen here!
Next on the list was to secure the "golden ring" to the dome. To do this, I used GE Silicon II.
Here you can see the ring secured to the dome. It's perfectly center....how do I know? I eyeballed it.
After securing my ring, I went outside to spray some blue paint on my topper.
After letting it dry, and applying a liberal amount of clear coat, it was time to install and tighten with the wing nut.
and yes, I think it's pretty "ultimate".
Subscribe to:
Posts (Atom)