December marks the 6th month anniversary since the beginning of my R2 build. Today, After spending time with the family, and things calmed down, I decided to be productive!! With the news that both my skins and dome have shipped, I decided it was time to get a move on and really accomplish something.
To start with, I needed to cut the grooves in my legs. This was actually fairly simple, I added a 1/4" and a 1/2" to each side to make it 'level' and then proceeded to cut the long edges on the table saw, and used a hand saw for the short edges.

Next up, I needed to start (and finish) filling the center leg. This step went very fast because my center leg was pretty damn smooth with no filler on it. However, just to smooth it all over, I went ahead and filled 90% of the thing. (90% because the upper portion will never be seen.)
Next up, we have a group shot of all the products I will be using. I didn't get to use any of the satin white today, but everything else was used!

Next up, here is a shot with a light coat of primer on the main legs. During this time, the filler was drying on the center leg.

Next, we have my first ever attempt with etching primer. After racking my brain over it, I decided to go ahead and paint my gorgeous aluminum coin slots. I will probably regret it in the future, but.....eh! So, with my first attempt, I decided I should do it with something like these, rather than the skins the first time.
What I did, was mask over the edges of the coin slots (you can barely tell), and then proceed to spray the etching primer over the whole thing. I waited about 5 minutes, and did another coat. I then waited about an hour, and sprayed my normal primer over the whole thing. I plan to use duplicolor Sonic Blue Pearl from a can to pain these beauties, and with some luck, my masking job was good enough that it will look good when it's done. Here is a shot of them in their current state.

Next, I put some clear coat over my resin pieces. They're not the 'cleanest' out there, but when the weathering is applied, they'll look good as new! or used....or?

Now, the moment that has perplexed me for quite some time, cutting the hole out of the skirt. For this, I drilled a 1" hole right along the edge on each short side. I then proceeded to insert a sawzall (spelling??) and go along the edges. Unfortunately, I drilled my hole a little too wide, so I had to use a LOT of filler in there to fix that, but overall, it's pretty good.


Next up, the center leg was dry from the filler, so I used a mouse sander and quickly sanded it smooth, and slapped some primer on it.

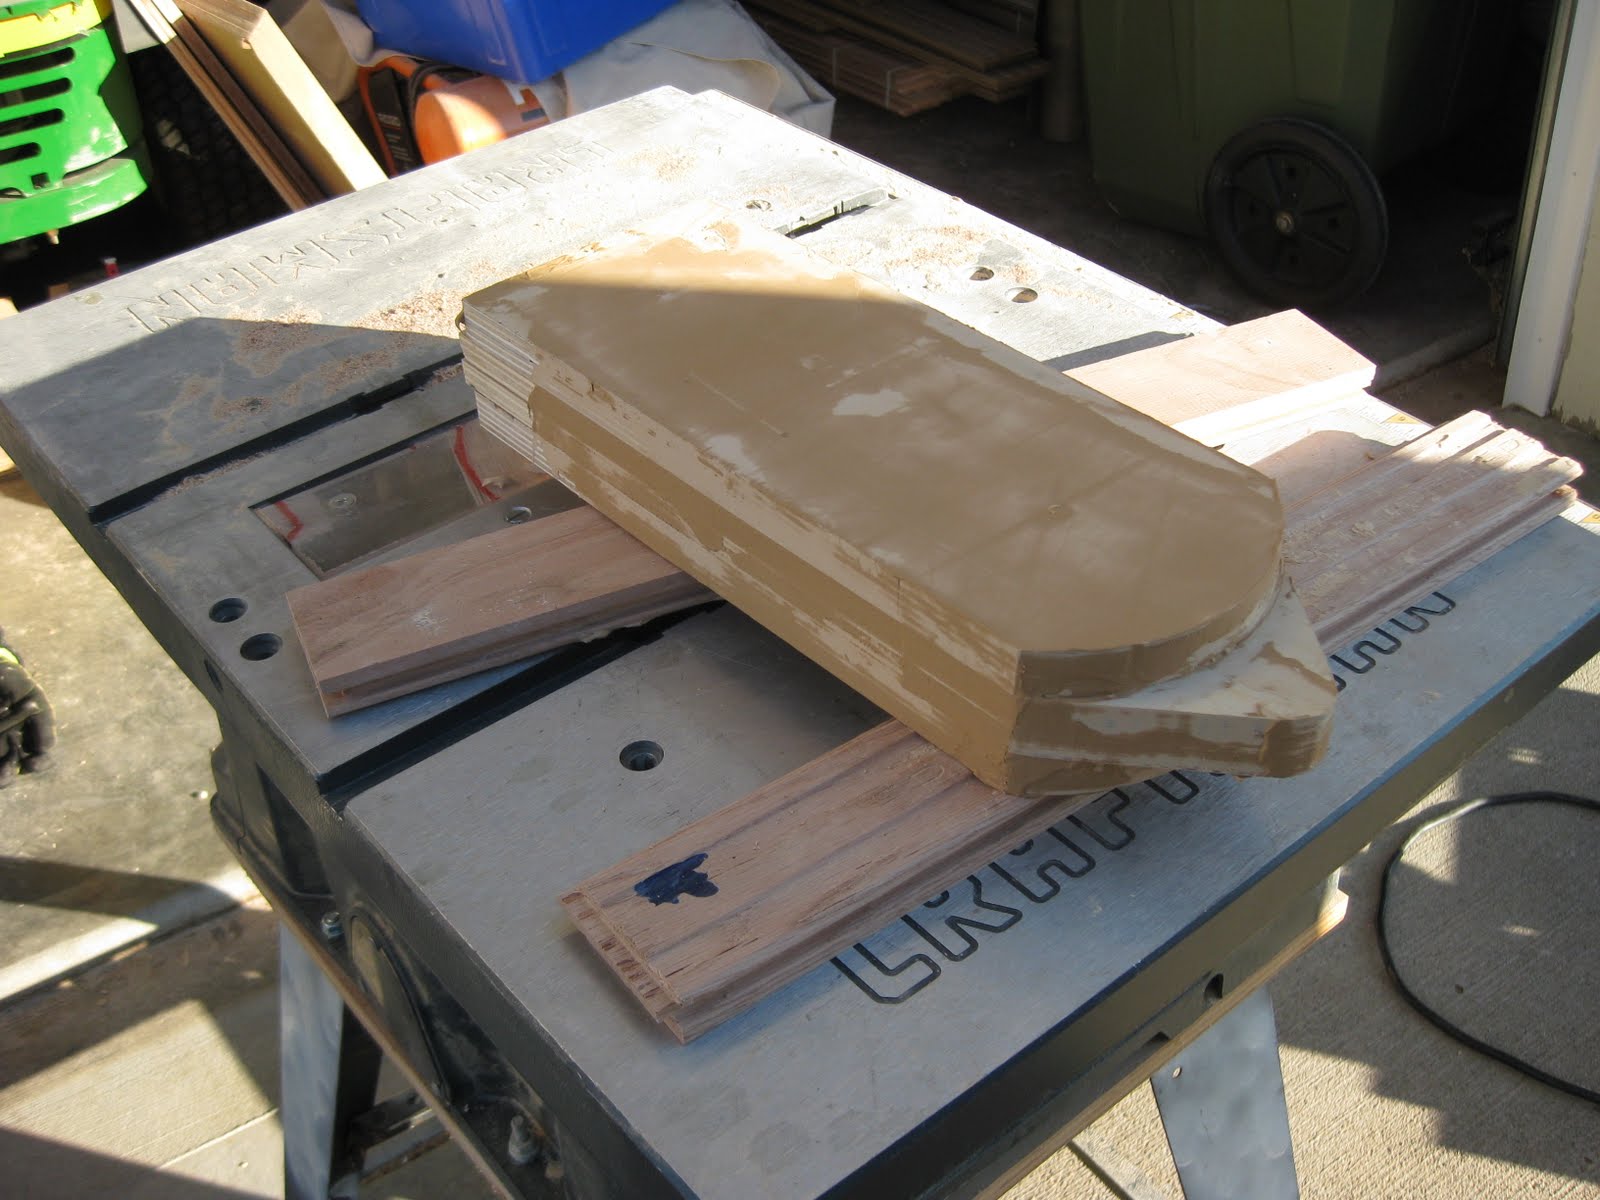
Finally, I took a shot of a close up of my grooves.

Currently, they're outside drying, and in about an hour, I will take them in for the night and see what they look like. Tomorrow I intend to do another 1-2 coats of primer, and try to get some white on there! Hope everyone had a Merry Christmas!!
No comments:
Post a Comment