
Here is a shot of the two wings. With these being done, all of the wooden pieces (except ribs) are now complete!!

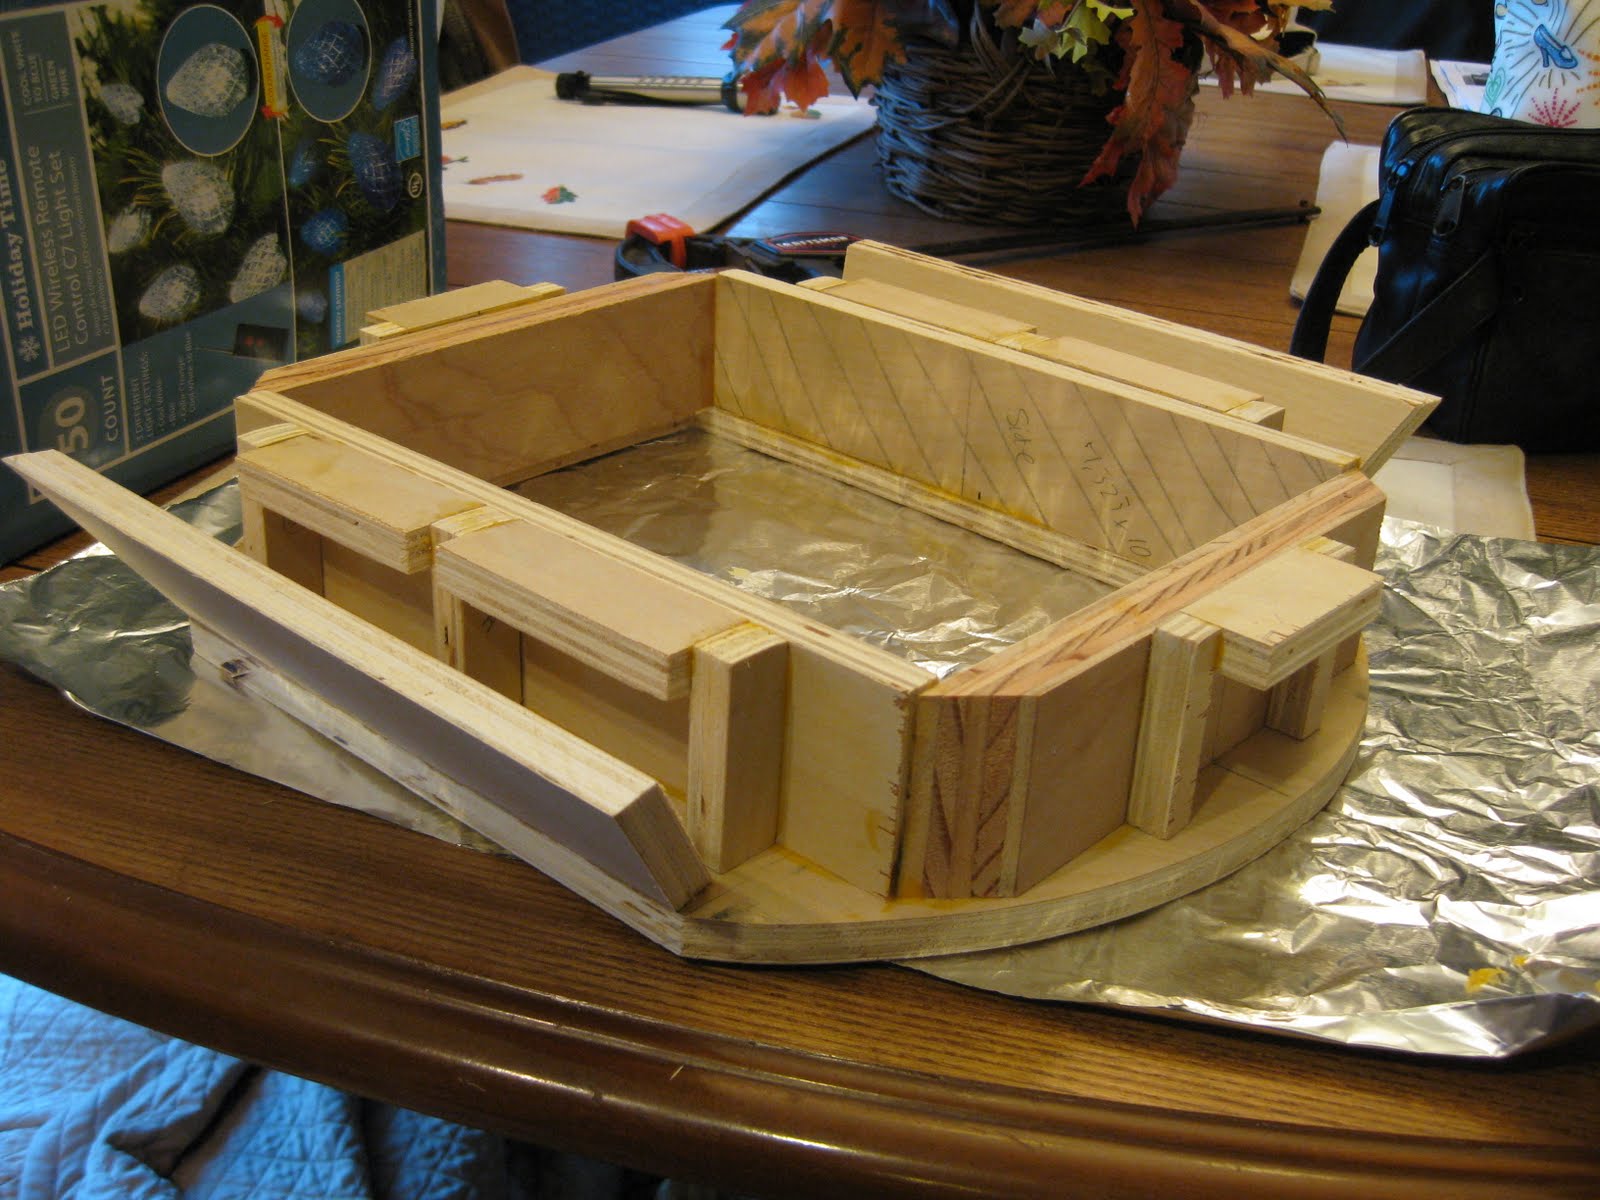
This picture is here to show you how I intend to mount the internal bracing (pictured above) to the wings for the skirt. The braces have a 36 degree angle cut in them as well so that they will set flush against the wing, and the other side is designed to sit flush against the other internal parts.

I glued these up a unique way. Super glue is superb for paper, cardboard, styrene (!), fingers, and just about anything else......EXCEPT wood. However, it still does bond too it. I used this knowledge to help me glue these up. I couldn't figure out a solid way to hold the board going at an angle, and trust that it would not move. So what I did, was put a long strip of wood glue all along the bottom of the wing, and then, I put 4 drops of super glue at various points along the surface. I then, put the wing where it needed to go.....after holding it for about the 30 seconds, the superglue was strong enough to hold the wing in place which in turn, allowed the wood glue to dry fully.....!!
Finally, the STYRENE!!!! I have a love/hate relationship with this material. I love how it feels, looks, smells, etc, but hell, it's awful to cut this stuff! I sat dumbfounded for quite awhile trying to figure out how to make this piece, and suddenly, I had an idea......fortunately, this idea worked brilliantly.
What I did, was simply draw out the two arcs as indicated on the plan. I just drew out two big arcs, and left it at that. I was frustrated about having to measure out the 65.5 degrees, and then I said "screw it"! What I did, was just cut out the long arcs without worrying about the angle, I just cut out the long arc. I then, placed the whole thing around the edge of the skirt frame, and drew a line where it needed to be cut, and then I cut it along that line. This worked brilliantly and the whole styrene piece fit damn near flush all the way around. I have to do some light sanding as it's maybe 1/32" to high, but I will take care of that tomorrow. Here's a shot showing one of the styrene pieces attached. I actually cut them out with scissors, and it hurt my hand rather badly, so I waited about 3 hours before I traced the other and cut it. Now, all that is left is to pick up some Testors Model Cement tomorrow to glue the styrene to the frame.....!

No comments:
Post a Comment